一、前言
Elasticsearch 集成 OpenLDAP的目地是为了统一管理账号,因为多人使用同一个账号密码会有密码泄露的风险,而且一但改了密码还得通知所有使用的人,为了管理方便索性接入OpenLDAP来管理账号。
二、部署ES和kibana
部署ES和kibana(需要依赖jdk环境),已有ES和kibana 可以跳过这一部分
2.1 部署 ES
1 | [czz@localhost ~]$ wget https://artifacts.elastic.co/downloads/elasticsearch/elasticsearch-6.8.0.tar.gz |
实际使用,建议将jvm内存调大一些
2.2 部署 kibana
1 | [czz@localhost ~]$ wget https://artifacts.elastic.co/downloads/kibana/kibana-6.8.0-linux-x86_64.tar.gz |
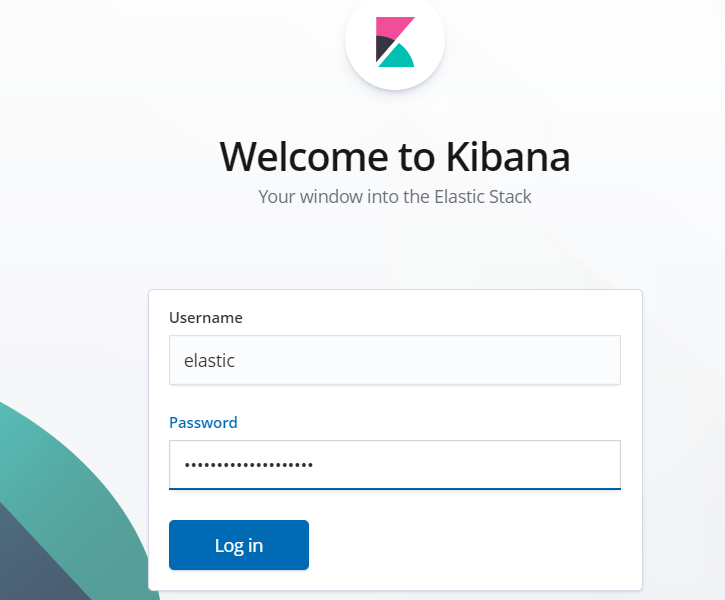
启动后访问kibana页面,确保服务能正常访问
三、ES 集成 OpenLDAP
Elasticsearch集群一但开启X-Pack,则需要为每一台ES和kibana都开启X-Pack插件支持,而且集群开启X-Pack后 Logstash 也要开启X-Pack
3.1 ES 安装破解 x-pack
强烈说明:本教程只供交流学习使用,切勿运用到商业用途。如有需要请购买官方正版授权
由于在elasticsearch在6.3版本之后x-pack是默认安装好的,这里就不需要自己去安装了
破解的x-pack和license的包下载地址:https://pan.baidu.com/s/1f9plvnhdbeSroOdW2G1YIg 提取码:1v2g
替换x-pack包,并重启elasticsearch服务
将解压的x-pack-core-6.8.0.jar包,拷贝到ES 的 modules/x-pack-core/目录下
1 | [czz@localhost elasticsearch-6.8.0]$ cd modules/x-pack-core/ |
替换完毕之后需要新增elasticsearch.yml配置
1 | [czz@localhost elasticsearch-6.8.0]$ vim config/elasticsearch.yml |
配置完后重启ES服务
导入license,密码为:change
1 | [czz@localhost ~]$ curl -XPUT -u elastic 'http://localhost:9200/_xpack/license' -H "Content-Type: application/json" -d @license.json |
在kibana上查看license

Platinum表示白金版,过期时间为2099 年12月31日,如果是自建的Elasticsearch集群则暂时还不能使用x-pack,因为白金版的x-pack需要SSL进行数据传输,需要先配置SSL
3.2 如何注册License
注册es产品:https://register.elastic.co/xpack_register
更新license,Updating Your License 官方文档https://www.elastic.co/guide/en/x-pack/current/installing-license.html
注册用户获取基础license,有效期1年https://register.elastic.co/xpack_register
1 | curl -XPUT -u elastic:password 'http://<host>:<port>/_xpack/license' -d @license.json |
@license.json 申请得到的json文件,复制文件中的所有内容,粘贴在此。
如果提示需要acknowledge,则设置为
1 | true curl -XPUT -u elastic:password 'http://<host>:<port>/_xpack/license?acknowledge=true' -d @license.json |
查看license:
1 | curl -XGET http://localhost:9200/_xpack/license |
3.3 ES 使用 x-pack
配置启用 x-pack
1 | [czz@localhost elasticsearch-6.8.0]$ vim config/elasticsearch.yml |
重启ES服务后,还需要配置kibana使用用户名密码登录
创建 ES 用户
如果是自建的ES集群最好是在master的es主机上去创建
1 | [czz@localhost elasticsearch-6.8.0]$ ./bin/elasticsearch-setup-passwords auto |
elasticsearch-setup-passwords 支持2种选项
auto - Uses randomly generated passwords #主要命令选项,表示系统将使用随机字符串设置密码
interactive - Uses passwords entered by a user #主要命令选项,表示使用用户输入的字符串作为密码这里使用auto系统自动创建密码
kibana添加ES用户认证
将上一步创建的账号elastic和密码配置到kibana.yaml
1 | [czz@localhost kibana]$ vim config/kibana.yml |
重启kibana,重启后测试登录kibana

使用之前创建用户和密码登录
3.4 ES 接入 OpenLDAP
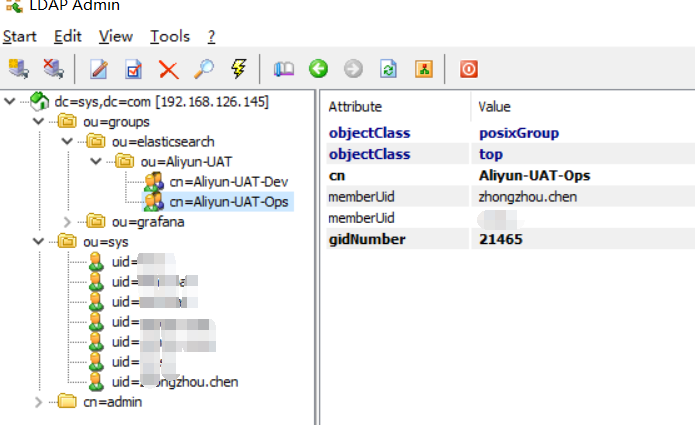
OpenLDAP用户和组,结构如下

修改 elasticsearch.yml 配置文件,接入OpenLDAP认证
1 | [czz@localhost elasticsearch-6.8.0]$ vim config/elasticsearch.yml |
修改完后需要重启ES服务
3.5 ES 分配 LDAP 用户权限
配置 role-mapping 将LDAP的用户和ES 中的role 关联,从而给LDAP中的用户分配权限,更多配置可以参考官网
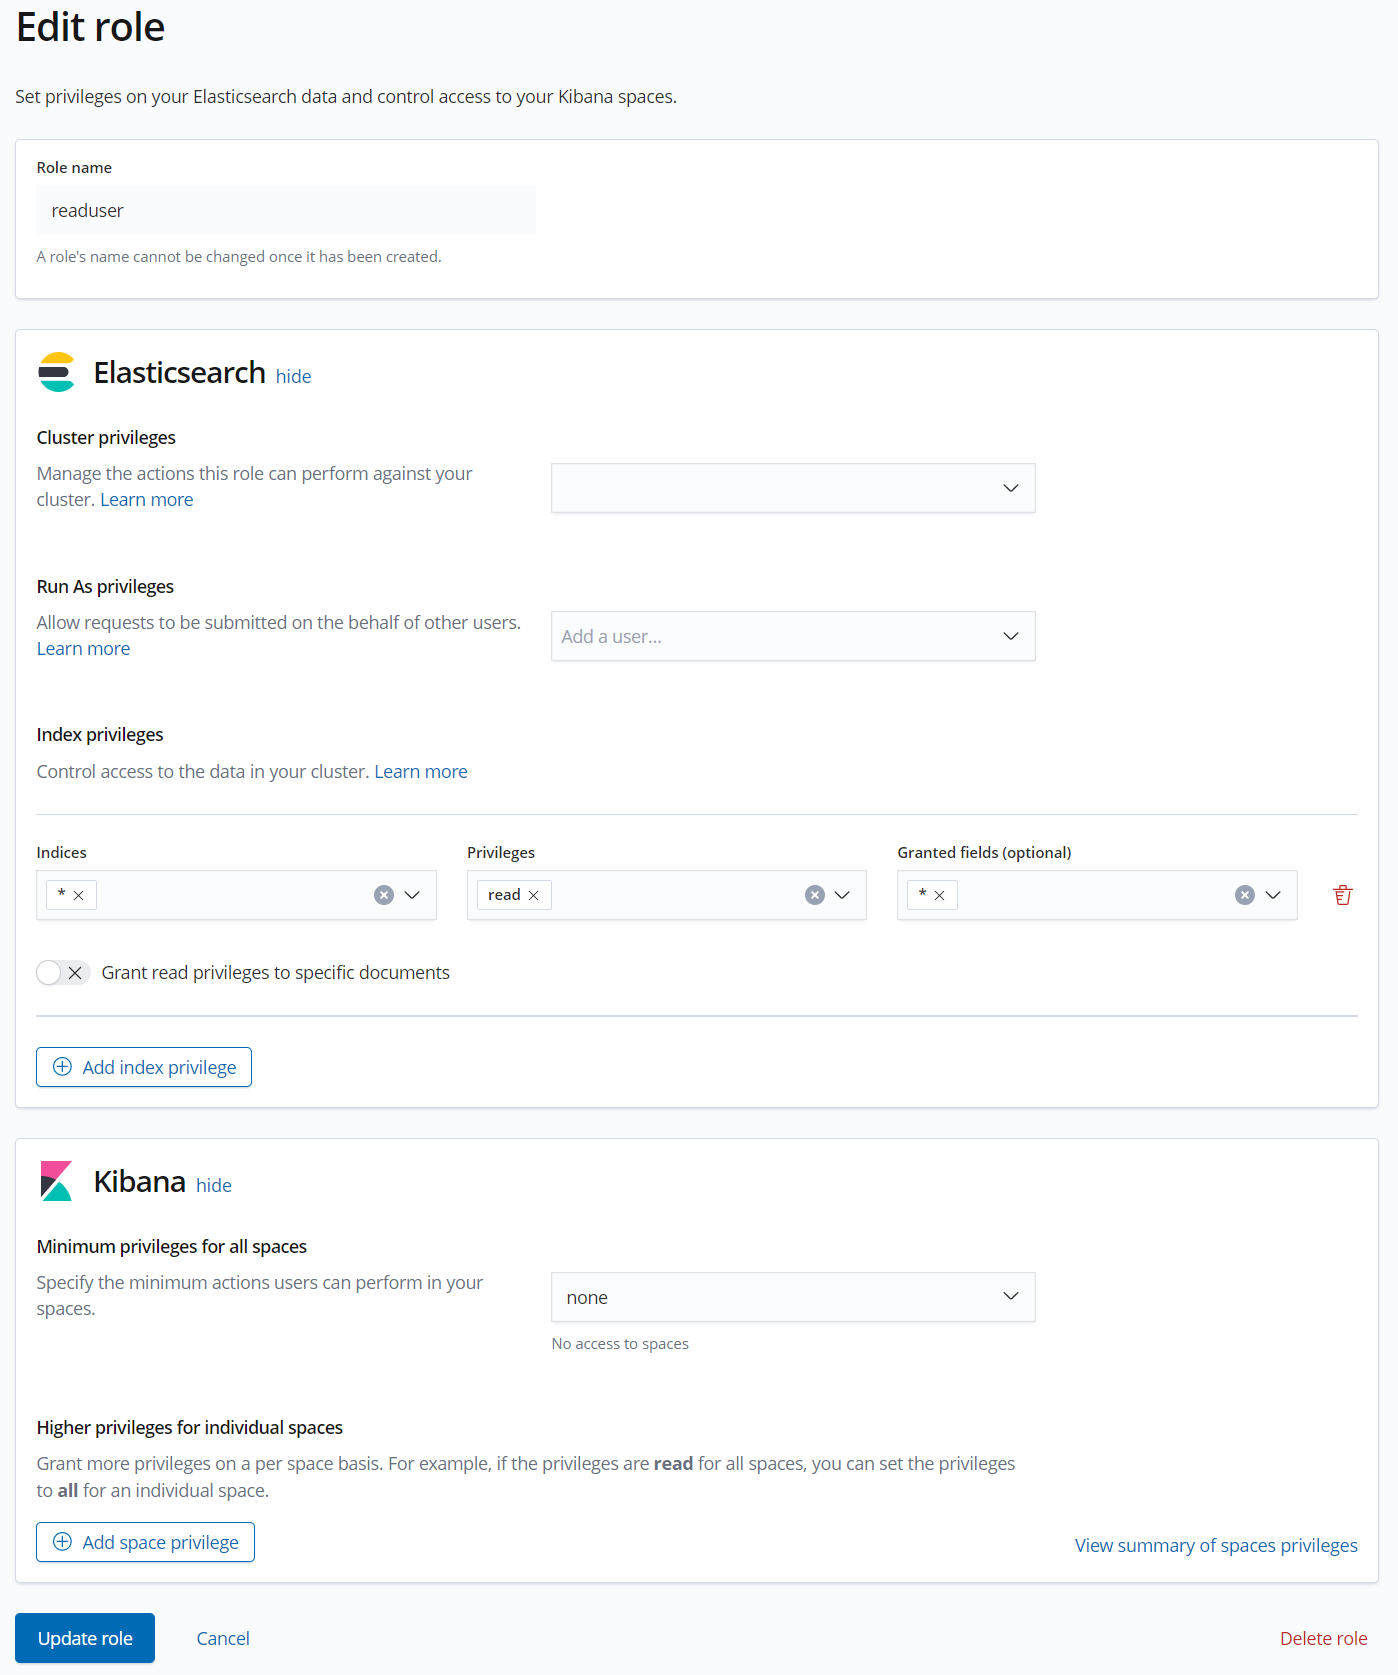
普通用户权限,为role readuser配置权限,配置可以参考通过Elasticsearch X-Pack角色管理实现用户权限管控

普通用户分配到role
1 | POST _xpack/security/role_mapping/ldap_read_user1 |
管理员权限
1 | POST _xpack/security/role_mapping/ldap_super_user1 |
因为这里分配权限遇到了问题,无法为ldap中的组分配权限,只能给用户分配权限,导致所有用户都可以登录ES,所以就直接将用户分配到了role,后期如果解决了会在这里更新